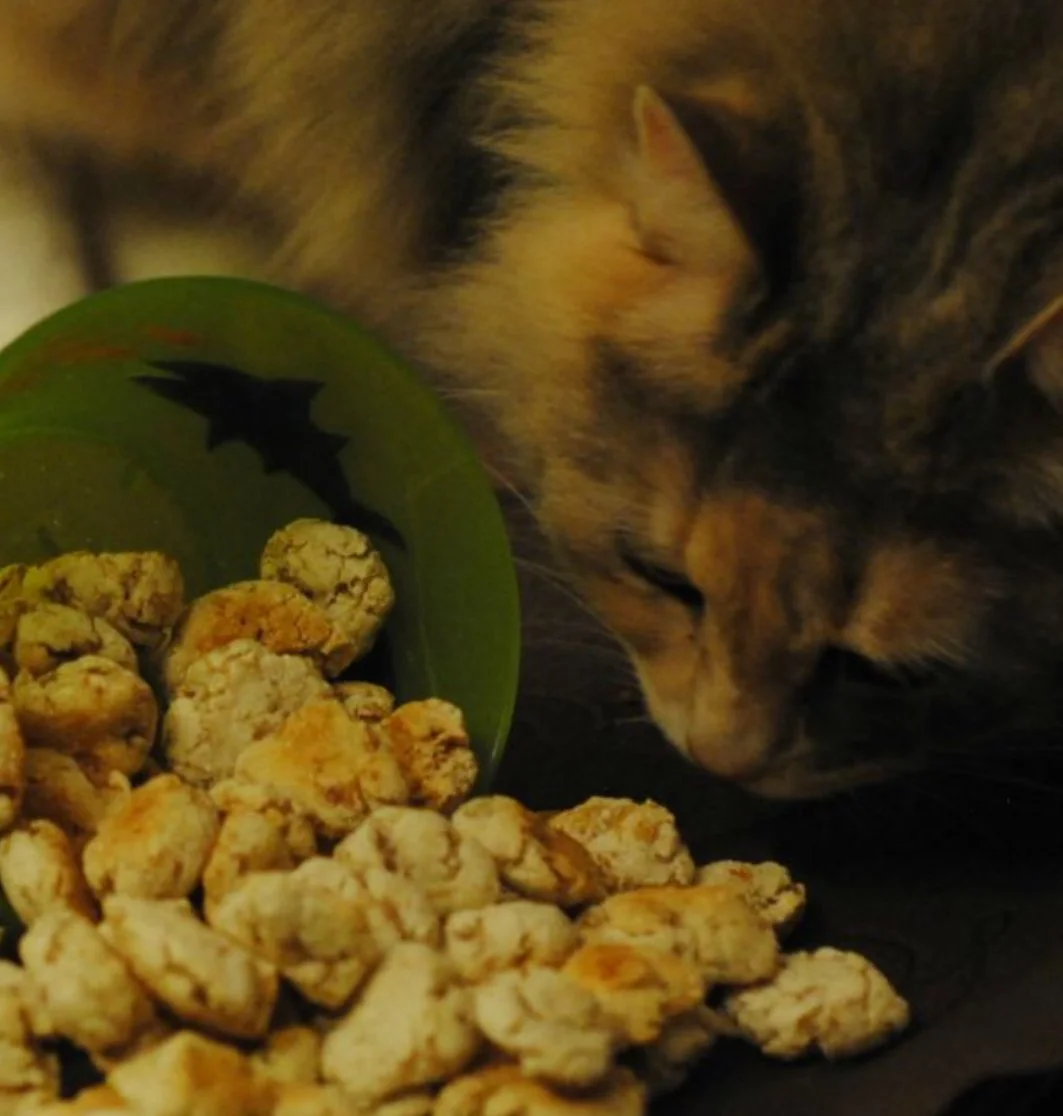
Healthy Homemade Cat Treat Recipes: Delicious and Nutritious Snacks for Your Feline Friend
Treating your cat to a tasty snack is a great way to bond with them, but many store-bought cat treats can be high in artificial additives, fillers, and unhealthy fats. By making your own healthy homemade cat treats, you can control the ingredients, ensuring your kitty gets a nutritious snack that’s safe and tasty. At Whiskers Rescue AR, we believe that homemade treats can be a fun, rewarding way to show your cat some extra love. Here are a few simple recipes for homemade cat treats that are both healthy and delicious.
1. Tuna and Catnip Crunchies
Cats love the taste of tuna, and this recipe combines it with catnip to create a treat your cat will adore. Plus, tuna is a great source of protein and omega-3 fatty acids, which support your cat’s skin and coat health.
Ingredients:
1 can of tuna in water, drained
1 cup whole wheat flour (or substitute with oat flour for a gluten-free option)
1 tablespoon dried catnip
1 egg
1 tablespoon olive oil
Instructions:
Preheat your oven to 350°F (175°C).
In a medium bowl, mix the tuna, egg, and olive oil until well combined.
Add in the catnip and flour, and stir until you form a dough.
Roll the dough out on a floured surface to about 1/4-inch thickness, then cut into small pieces or use a cookie cutter for fun shapes.
Place the treats on a lined baking sheet and bake for 10-12 minutes or until they’re lightly browned and crispy.
Let the treats cool before offering them to your cat. Store them in an airtight container in the fridge for up to one week.
2. Chicken and Carrot Bites
This recipe combines lean chicken and carrots for a treat that’s packed with protein, fiber, and vitamins. Carrots are full of beta-carotene, which is great for eye health, making this a wholesome treat option.
Ingredients:
1/2 cup cooked, shredded chicken (no seasoning)
1/4 cup finely grated carrot
1/2 cup oat flour
1 egg
Instructions:
Preheat your oven to 350°F (175°C).
In a bowl, mix the shredded chicken, grated carrot, and egg until well combined.
Gradually add in the oat flour, stirring until you form a soft dough.
Roll the dough into small balls and flatten them slightly on a lined baking sheet.
Bake for 12-15 minutes or until they are firm and lightly browned.
Allow the treats to cool completely before giving them to your cat. Store in an airtight container in the fridge for up to one week.
3. Salmon and Pumpkin Patties
Packed with omega-3 fatty acids from salmon and fiber from pumpkin, these salmon and pumpkin patties are a nutritious, easily digestible treat for cats. Pumpkin is particularly beneficial for cats with digestive issues, helping to regulate their systems.
Ingredients:
1/2 cup canned salmon, drained
1/4 cup canned pumpkin (plain, not pie filling)
1 egg
1/2 cup rice flour
Instructions:
Preheat your oven to 350°F (175°C).
In a bowl, mash the salmon and mix it with the pumpkin and egg.
Add the rice flour, stirring until the mixture comes together.
Form the dough into small patties and place them on a baking sheet lined with parchment paper.
Bake for 10-12 minutes or until the treats are firm to the touch.
Allow the treats to cool completely, then store them in the refrigerator for up to a week.
4. Cheesy Tuna Cat Cookies
Cheese is a favorite treat for many cats, and when combined with tuna, it’s a savory delight! These cheesy tuna cat cookies are simple to make and are sure to be a hit with your feline friend.
Ingredients:
1 can of tuna in water, drained
1/4 cup shredded cheddar cheese
1 egg
1 cup oat flour
Instructions:
Preheat your oven to 350°F (175°C).
In a bowl, mix together the tuna, cheddar cheese, and egg until well combined.
Gradually add in the oat flour, stirring until a dough forms.
Roll the dough into small balls and flatten them slightly on a parchment-lined baking sheet.
Bake for 10-12 minutes, until the cookies are firm and lightly browned.
Let the cookies cool completely before offering them to your cat. Store in an airtight container in the fridge for up to a week.
5. Simple Chicken Jerky
If your cat loves meat, this simple chicken jerky recipe is a high-protein, single-ingredient treat that’s easy to make. Chicken jerky provides a chewy texture that cats enjoy and can be stored for longer than other treats.
Ingredients:
1 boneless, skinless chicken breast
Instructions:
Preheat your oven to 200°F (95°C).
Slice the chicken breast into thin strips, around 1/8-inch thick.
Place the strips on a baking sheet lined with parchment paper.
Bake for 2-3 hours, or until the chicken is completely dried out and chewy.
Let the jerky cool completely before giving it to your cat. Store in an airtight container in the fridge for up to two weeks.
Important Considerations
While these homemade treats are made with safe, wholesome ingredients, it’s best to give them to your cat in moderation. Treats should not make up more than 10% of your cat’s daily caloric intake to prevent weight gain and ensure they’re getting balanced nutrition from their regular food. Always consult your veterinarian before introducing new foods to your cat’s diet, especially if they have any health issues or dietary restrictions. Some cats have sensitive stomachs!
Final Thoughts
Homemade cat treats are a wonderful way to show your feline friend some extra love and ensure they’re enjoying healthy, nutritious snacks. By making treats at home, you have complete control over the ingredients, allowing you to cater to your cat’s tastes and dietary needs. At Whiskers Rescue AR, we encourage cat owners to explore fun, wholesome recipes like these to make treat time a special occasion. Try out a few of these recipes and see which ones your kitty likes best!

